Connect your GraphCMS project to Gatsby Cloud
Using Gatsby Cloud with your GraphCMS powered Gatsby site enables the following:
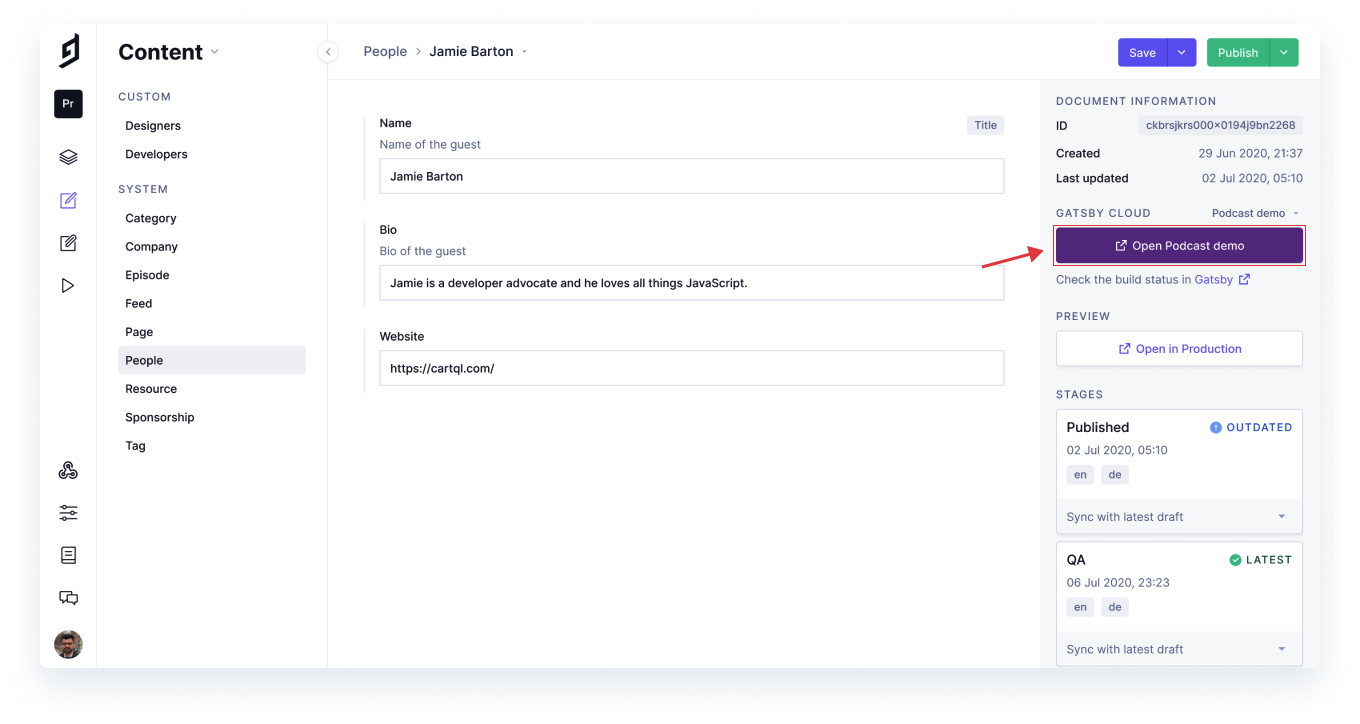
- Preview content changes using lightning fast CMS Preview builds. Any content changes on the Draft stage will automatically be updated and ready to preview in seconds.
- Incremental production builds that only rebuild the required changes. This results in faster builds and deployments for GraphCMS content on your Published stage.
PrerequisitesAnchor
This guide assumes the following:
- You have a GraphCMS project. If not, create one here.
- You have a pre-existing Gatsby project that uses
gatsby-source-graphcmson GitHub or GitLab. - You are familiar with creating a Gatsby Cloud site from an existing GitHub or GitLab repository. Read this guide for instructions on how to do this.
1. Create a new Gatsby Cloud siteAnchor
If you have a pre-existing GraphCMS powered Gatsby site in Gatsby Cloud, you can skip to step 2. In Gatsby Cloud, create a new site by importing your pre-existing Gatsby project from a GitHub repository. You can follow this guide for instructions on how to do this.
During the setup process, you will be asked to provide any environment variables required for your Gatsby site to build. This will likely include the following:
- Your GraphCMS project URL (required).
- If configured, a PAT (Permanent Auth Token) for the project.
Once configured, your new Gatsby Cloud site will build and be accessible in your dashboard.
2. Gathering required Gatsby Cloud site valuesAnchor
Before we can enable the Gatsby Cloud integration on our GraphCMS project, we need some details from our newly initialised Gatsby Cloud site.
Form the Gatsby Cloud dashboard, go to the site you want to work with, click Site Settings.
You will need to make note of your project’s Prefix as that will be needed for the GraphCMS setup.
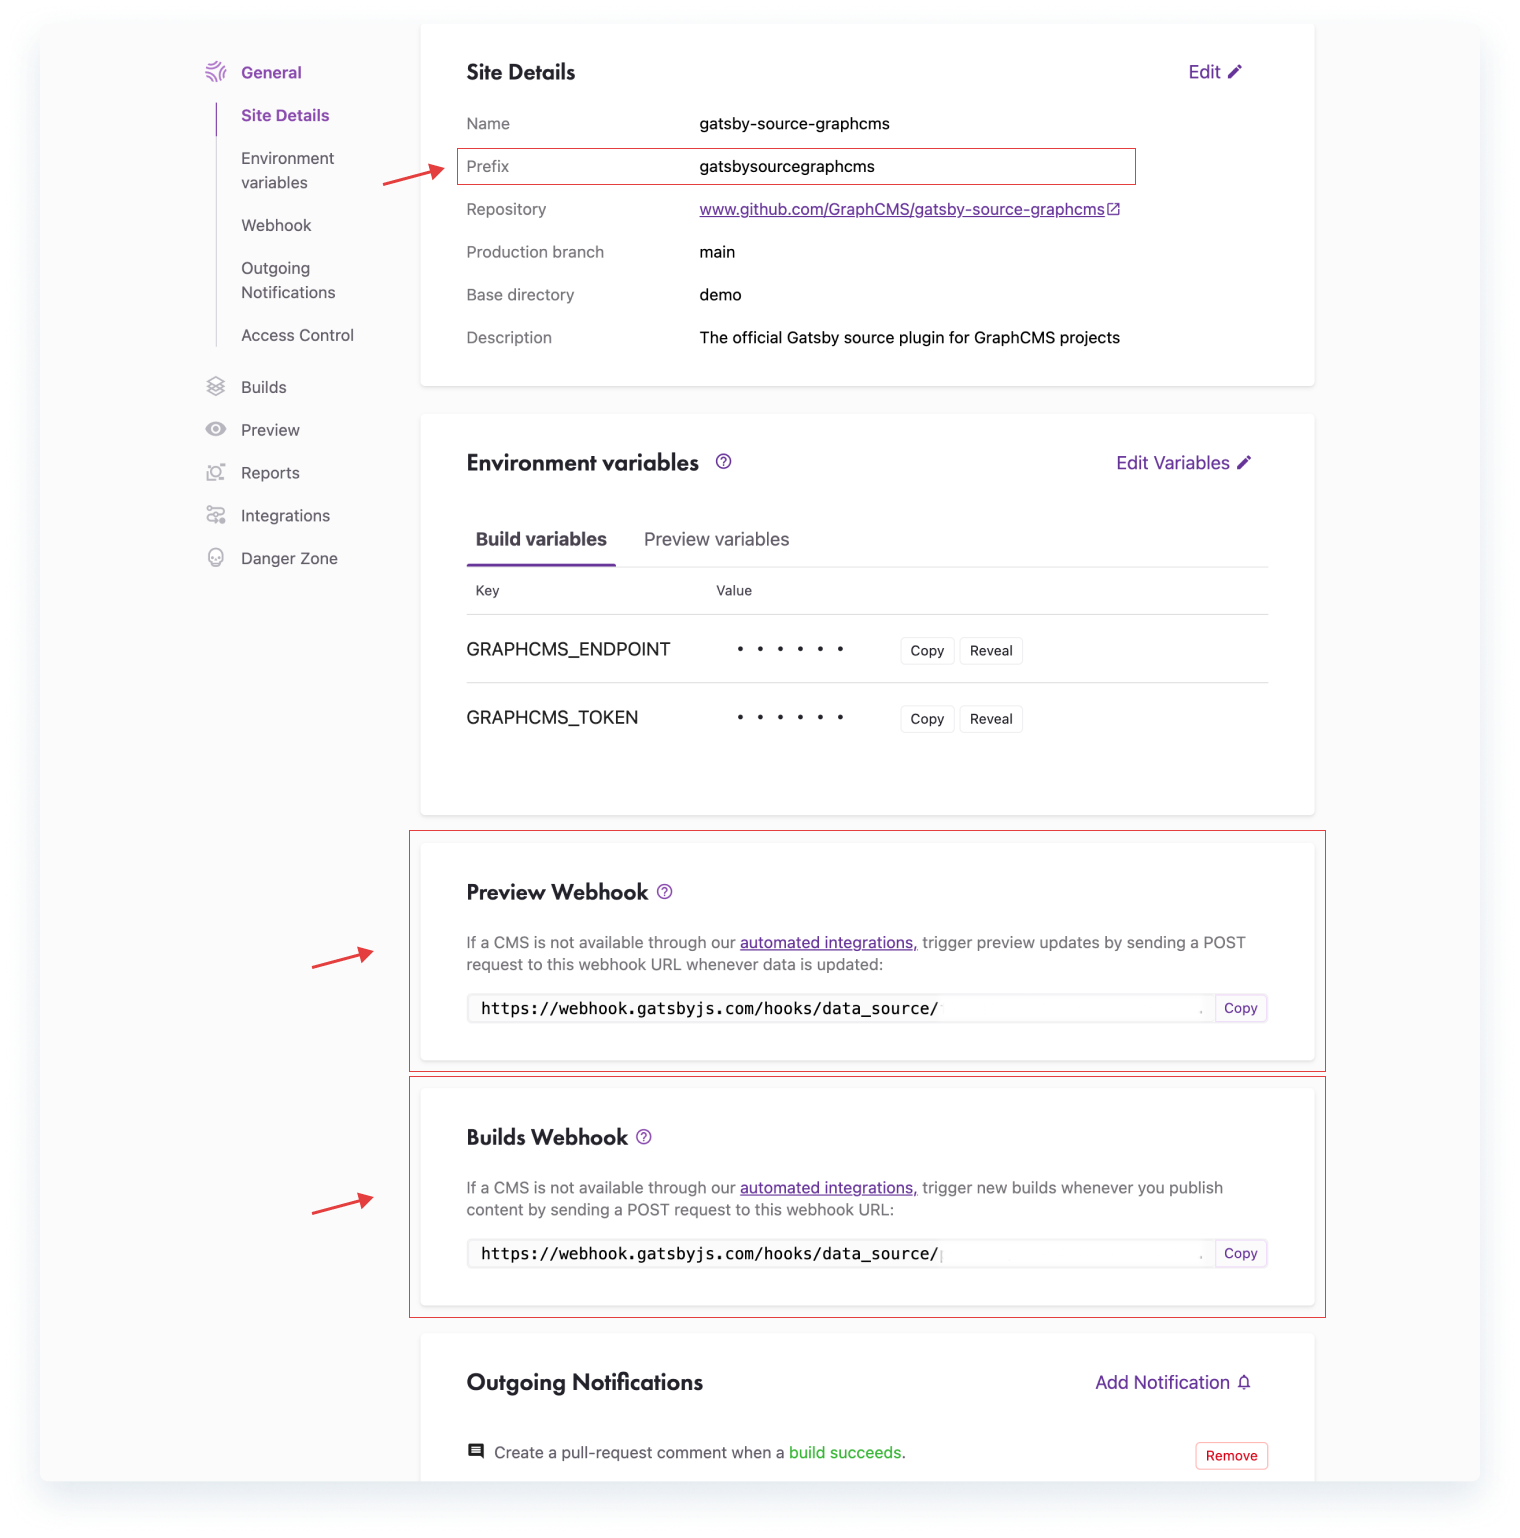
Now navigate to the Webhook section. In order to trigger new Gatsby Cloud builds for both the production and Preview instances, we need both the Preview Webhook and Builds Webhook URLs. These will be required during the Gatsby Cloud integration setup.
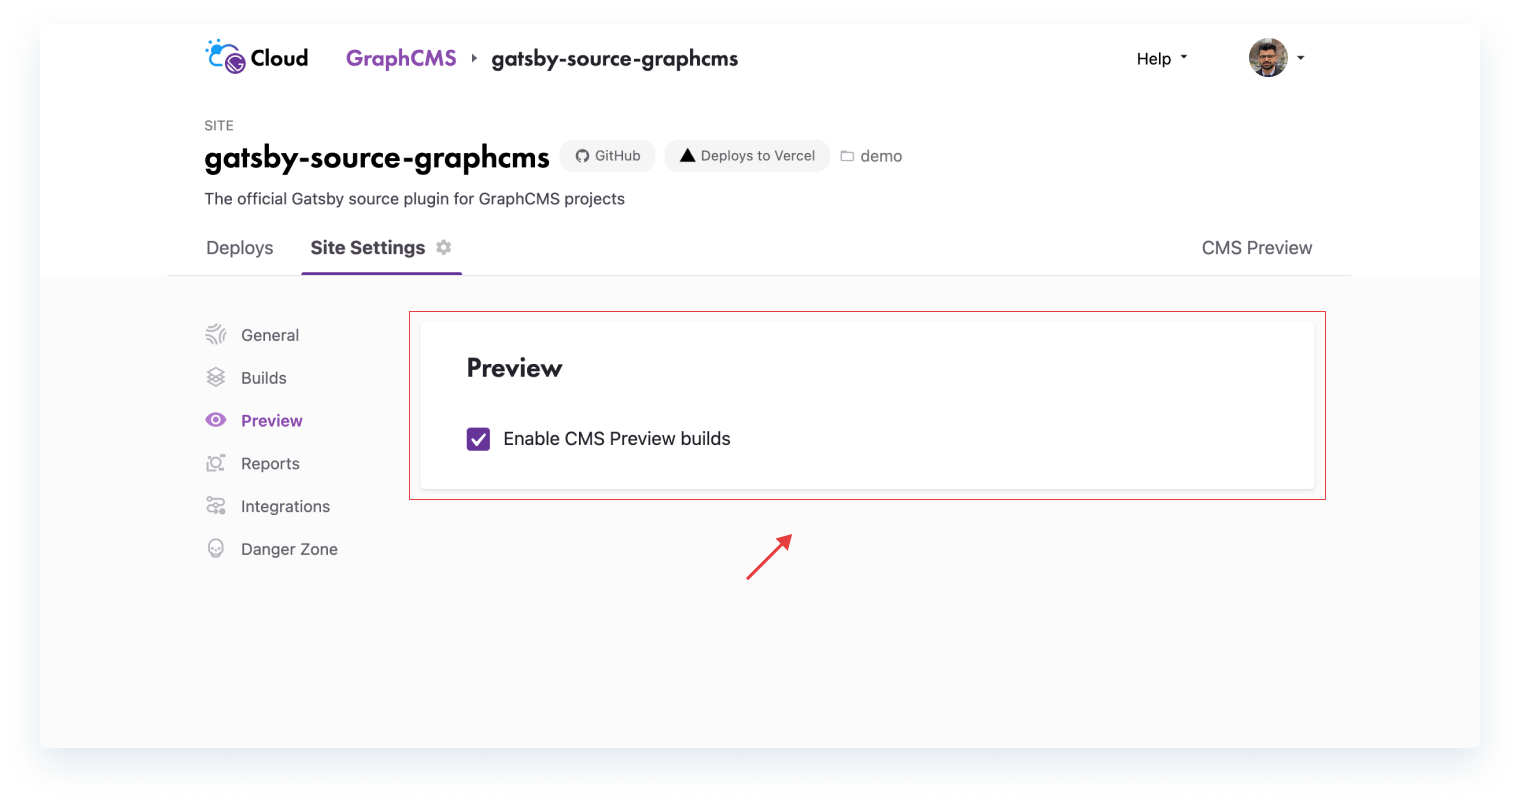
Be sure to check that CMS Preview builds are enabled to your Gatsby Site project. This can be done in the Preview section of the Site Settings page. This is required!
3. Configure Gatsby Cloud for GraphCMSAnchor
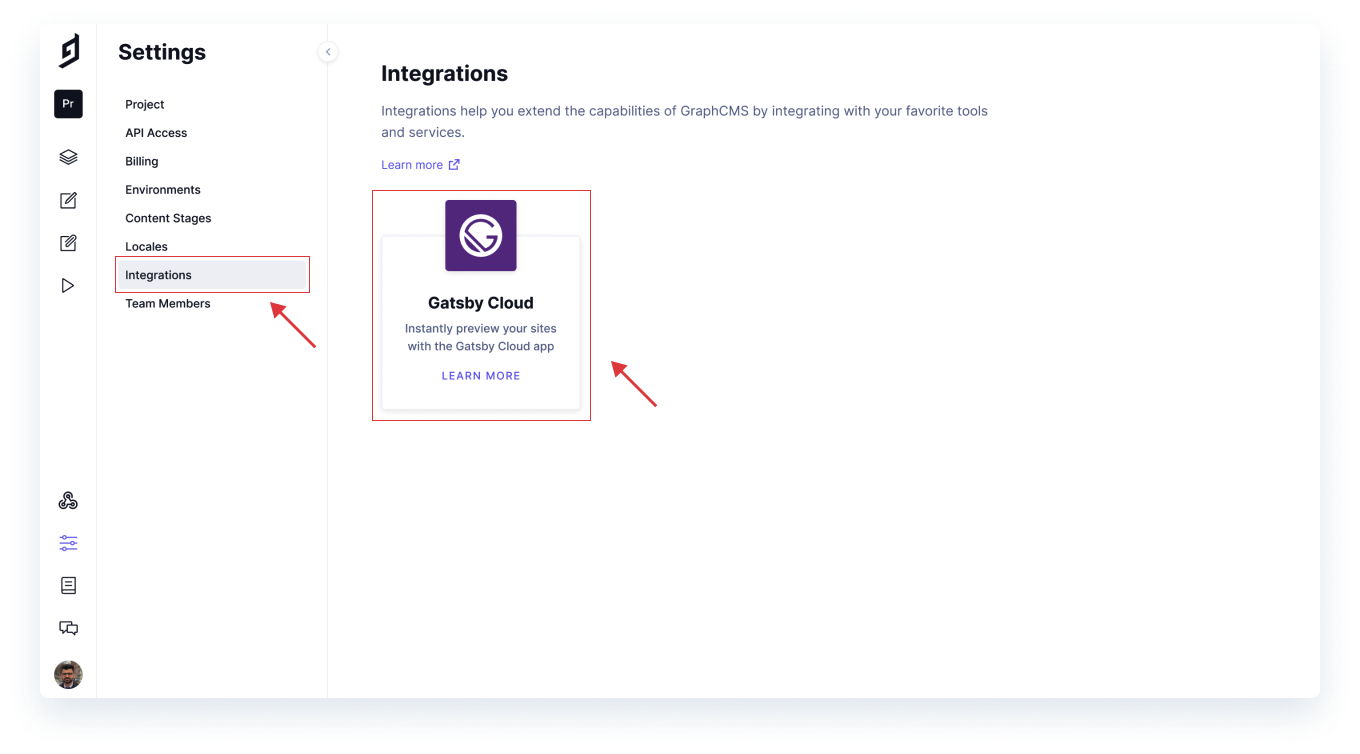
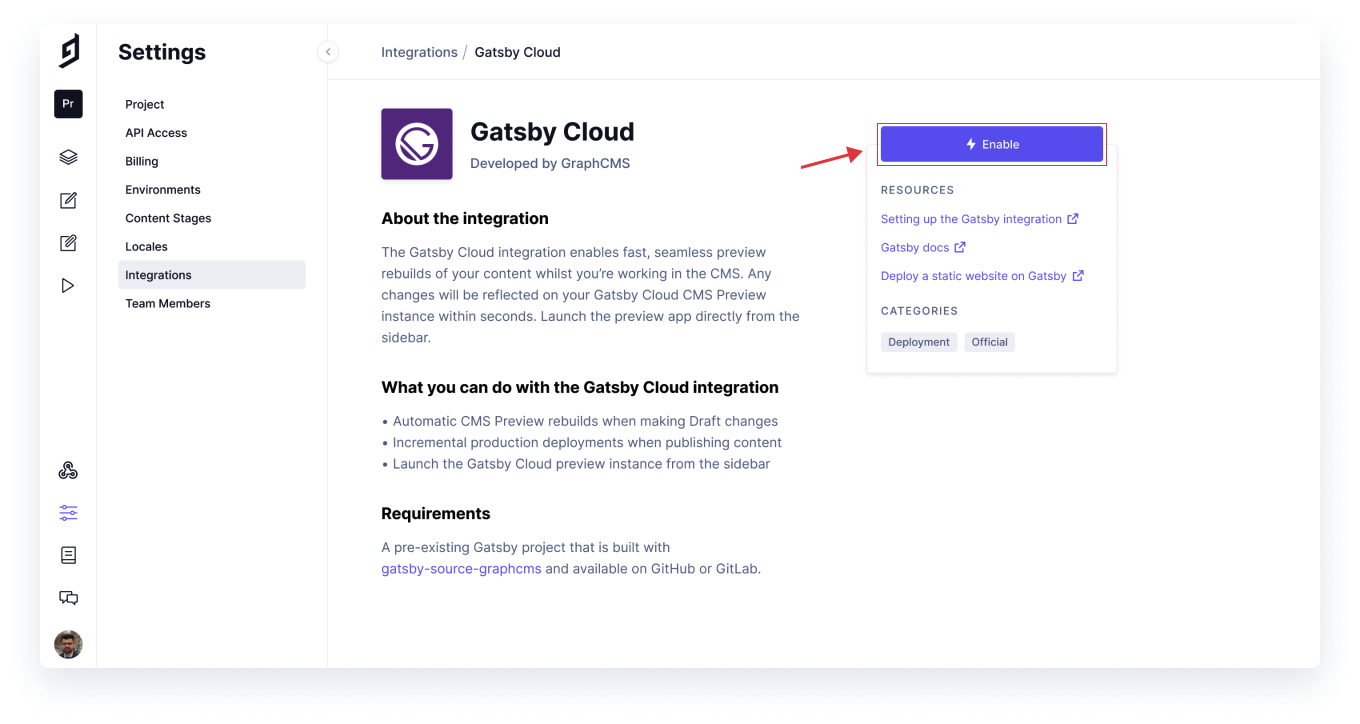
In your GraphCMS project dashboard, navigate to Settings and then Integrations. From here click Gatsby Cloud and then Enable.
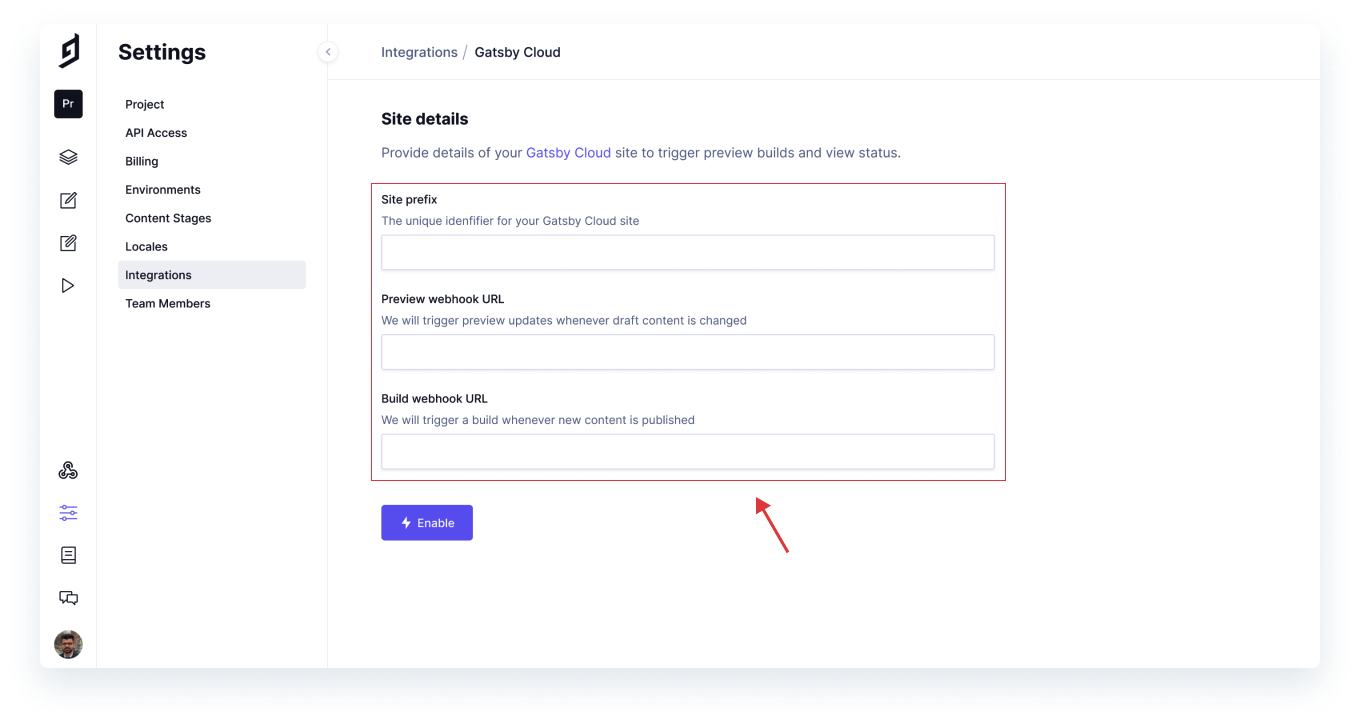
Populate the form fields with the values we just took from our Gatsby Cloud site and click Enable.
4. Enjoy automated Preview and incremental deploys!Anchor
Once successfully enabled, your project will:
- Trigger a Gatsby Cloud CMS Preview build whenever you save Draft content changes.
- Trigger a Gatsby Cloud incremental build deployment whenever you push content changes to the Published stage.