Imagine building a travel site that is packed with destinations visitors can explore to plan their summer vacation. While you'll want to show off the great amenities, and gorgeous views, you may also want to show details about the current weather.
One of the most spouted features of GraphQL is that it's a single endpoint for your data — that's fine if you're using one service for all of your data.
You'll most likely want to query hotel reviews and photos from your Content Management System (GraphCMS), the current forecast using a Weather API (Weatherbit), and maybe flight prices from a flights API (Rapid) but doing this in one request isn't so straightforward — until now.
You could make requests to multiple APIs on the frontend, but you'll often find this adds complexity to those managing the frontend.
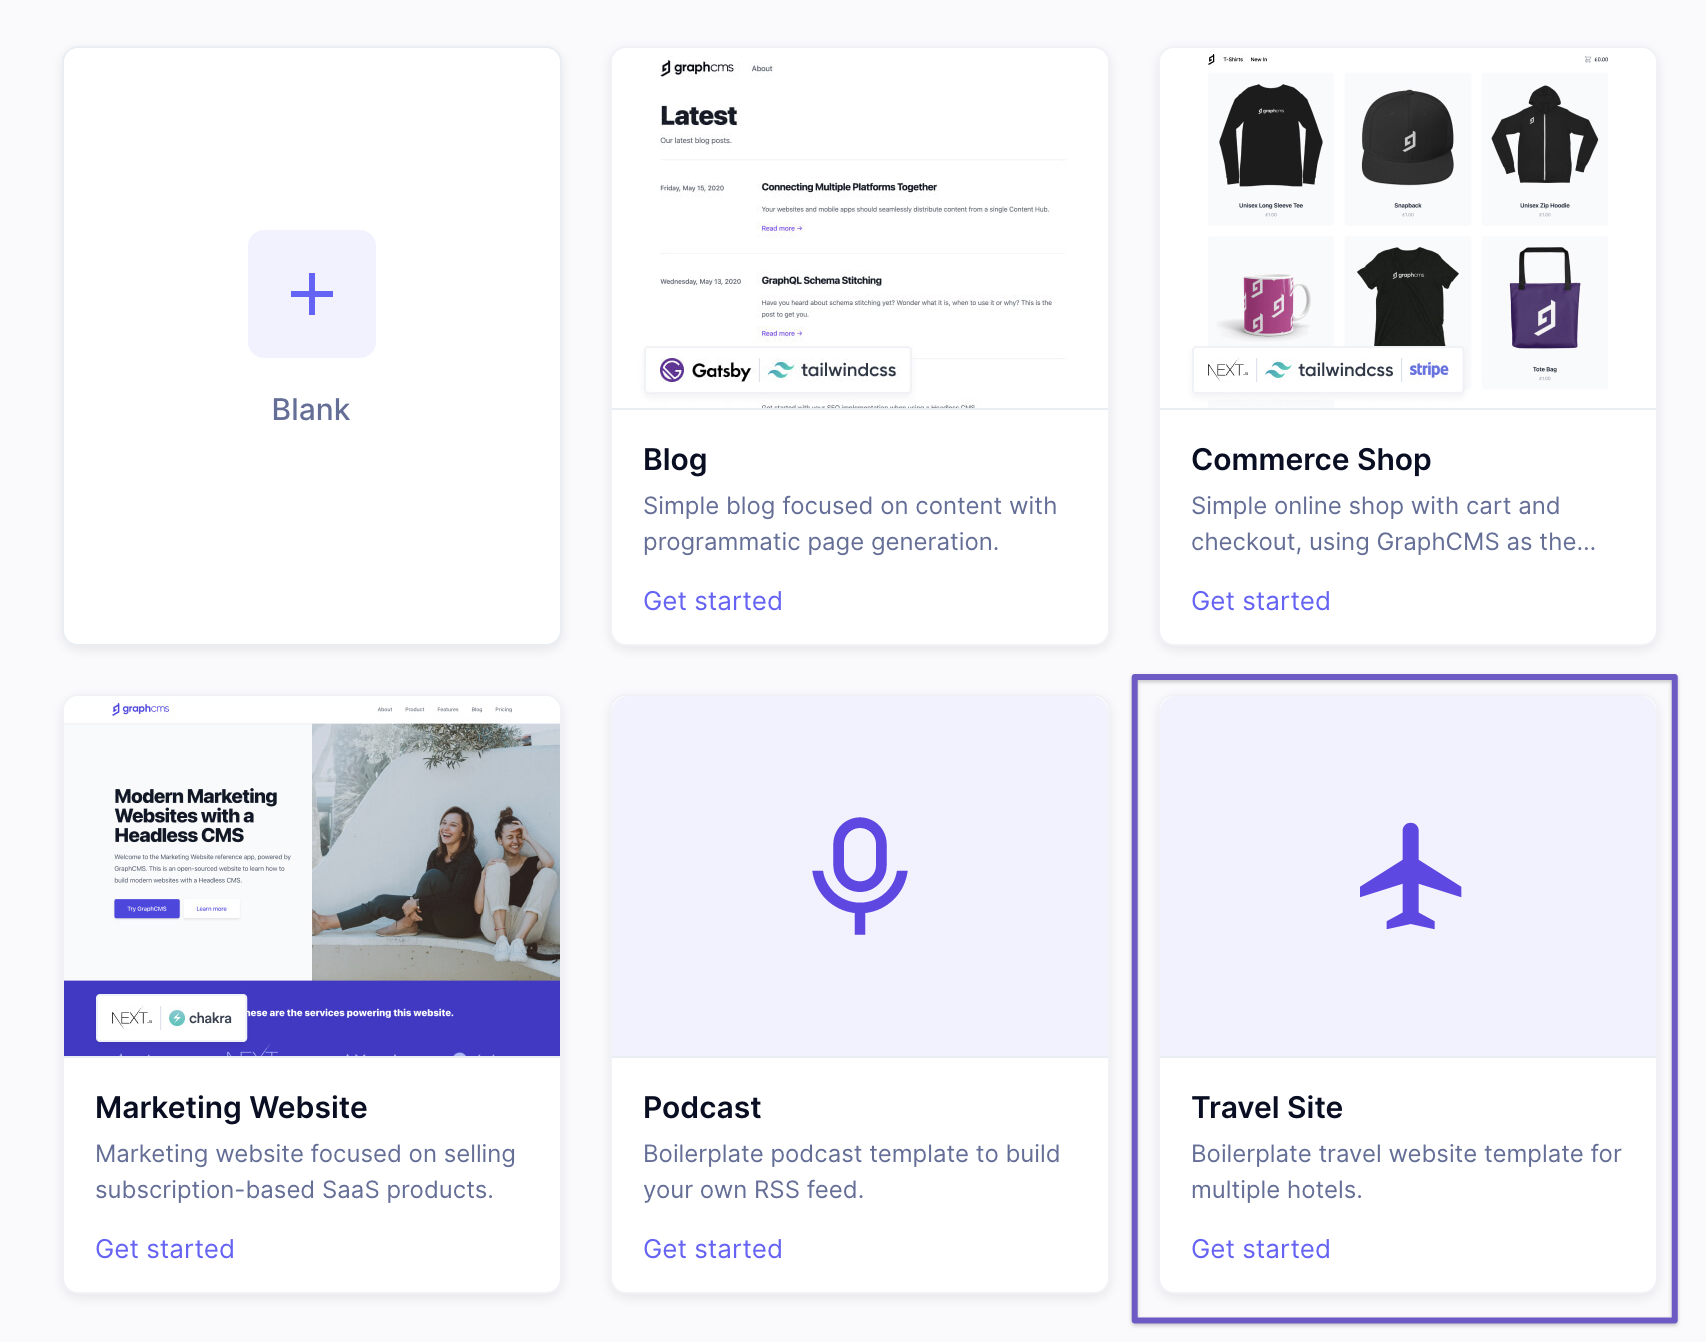
If you want to follow along — create a project with Weatherbit.io and a new GraphCMS project using the "Travel Site" schema template.
Open the API Playground and run the following query:
{hotels {nameroomsphotos {url}reviews {content {html}destinations {namedescription}}}}
You should see some example data we populated your project with when you created it from the schema template.
Now, if you imagine the following query:
{hotels {nameroomsphotos {url}reviews {content {html}}destinations {namedescriptionforecast {uvweather {description}}}}}
You'll notice we are trying to fetch forecast on destinations, and if you try to run this within your project, you'll see it's not defined, and get an error.
You could create a model in GraphCMS and keep a relation to forecast up to date, but this isn't scalable. Thanks to APIs we can handle this request programmatically.
GraphQL MeshAnchor
To query data across multiple remote APIs, we'll be using GraphQL Mesh.
You'll want to obtain an API key with Weatherbit and create a new project with GraphCMS. You can select the "Travel site" project template to quickly scaffold a new project with example destinations.
Then, inside of a new folder for your project, create the file .meshrc.yml and add the following:
sources:- name: GraphCMShandler:graphql:endpoint: YOUR_GRAPHCMS_ENDPOINT- name: Weatherhandler:openapi:source: https://www.weatherbit.io/static/swagger.jsonbaseUrl: https://api.weatherbit.io/v2.0/current
ℹ️ Don't forget to replace YOUR_GRAPHCMS_ENDPOINT with your project endpoint. If your API endpoint isn't public, you'll want to create a Permanent Auth Token, and update the GraphCMS source:
sources:- name: GraphCMShandler:graphql:endpoint: YOUR_GRAPHCMS_ENDPOINToperationHeaders:Authorization: "Bearer YOUR_GRAPHCMS_TOKEN"
Now, let's configure GraphQL Mesh to add a new field to our Hotel type (provided by GraphCMS).
We can do this by providing additionalTypeDefs to our .meshrc.yml:
additionalTypeDefs: |extend type Destination {forecast: Forecast}
Then we can provide additionalResolvers to our .meshrc.yml to connect the query to our "Weather" handler:
additionalResolvers:- targetTypeName: DestinationtargetFieldName: forecastrequiredSelectionSet: |{location {latitudelongitude}}sourceName: WeathersourceTypeName: QuerysourceFieldName: getForecastDailyLatequalToLatLonLonsourceArgs:lat: "{root.location.latitude}"lon: "{root.location.longitude}"key: YOUR_WEATHERBIT_API_KEYresult: data[0]
ℹ️ Don't forget to replace YOUR_WEATHERBIT_API_KEY with your actual API key.
Inside of the resolvers above we declare Destination as our target type, and the additional type definition forecase that we want to create a resolver for.
The requiredSelectionSet is necessary because we need to fetch the latitude and longitude from the query we're executing — the root.
The sourceName is the source handler we declared above, in this case "Weather". We then declare the query that is to be ran against the "Weather" API — in this case getForecastDailyLatequalToLatLonLon.
To finish connecting the source of our additional resolver, we'll pass the latitude and longitude from the Destination model to the query arguments, along with our API key.
To start the server you'll want to run the custom dev script we wrote earlier, npm run dev.
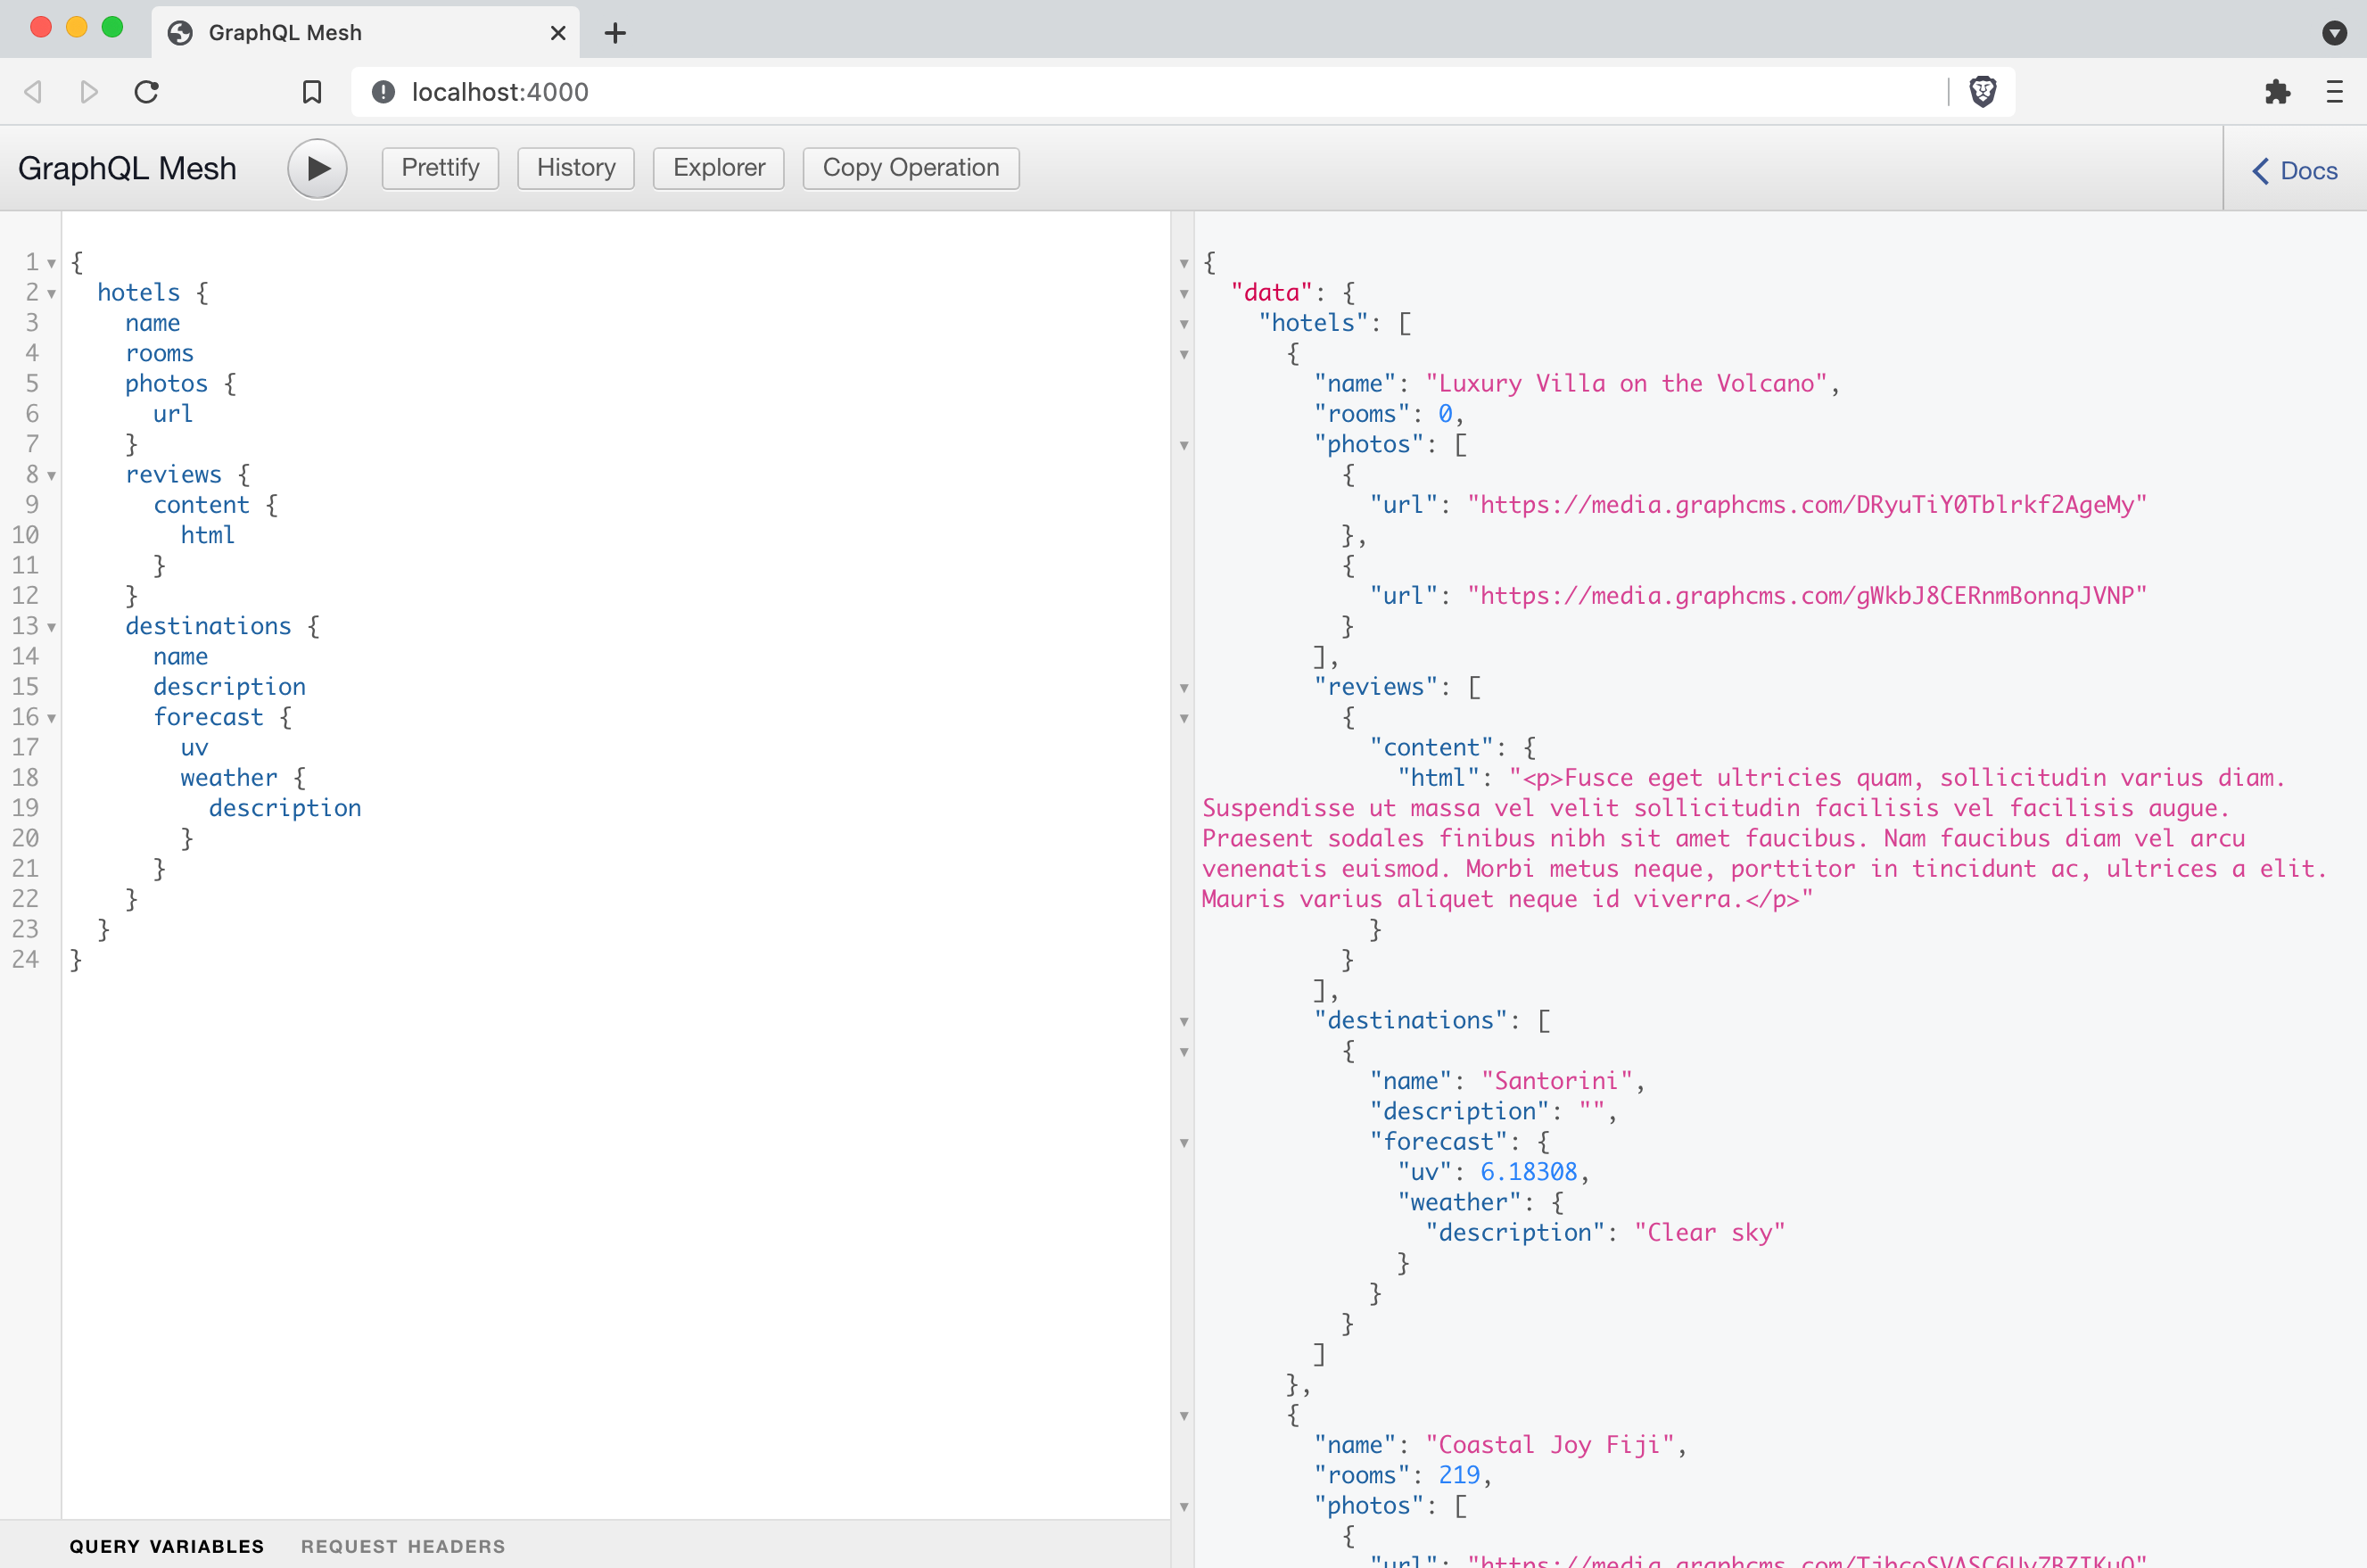
Now, if we run the query from earlier, we'll get the following results:
{"data": {"hotels": [{"name": "Luxury Villa on the Volcano","rooms": 0,"photos": [{"url": "https://media.graphcms.com/DRyuTiY0Tblrkf2AgeMy"},{"url": "https://media.graphcms.com/gWkbJ8CERnmBonnqJVNP"}],"reviews": [{"content": {"html": "<p>Fusce eget ultricies quam, sollicitudin varius diam. Suspendisse ut massa vel velit sollicitudin facilisis vel facilisis augue. Praesent sodales finibus nibh sit amet faucibus. Nam faucibus diam vel arcu venenatis euismod. Morbi metus neque, porttitor in tincidunt ac, ultrices a elit. Mauris varius aliquet neque id viverra.</p>"}}],"destinations": [{"name": "Santorini","description": "","forecast": {"uv": 6.18308,"weather": {"description": "Clear sky"}}}]}]}}
Great success! You can get the code for this example on GitHub.

